Ever pondered about enhancing your online privacy without a hefty price tag? A DIY VPN with a Raspberry Pi could be your solution. This budget-friendly approach not only fortifies your home network but also puts you in charge of your data’s confidentiality.
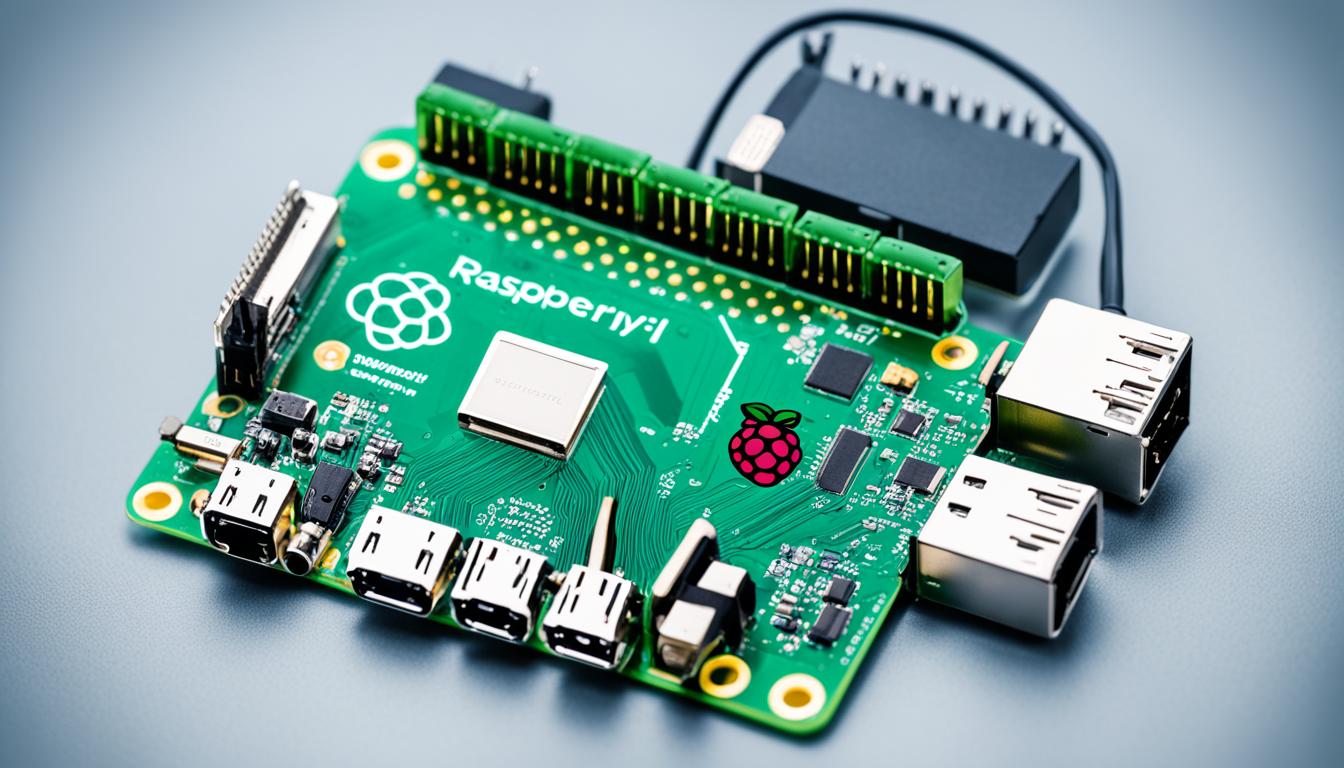
A Raspberry Pi VPN server combines affordability with robust functionality. With just a Raspberry Pi, a power supply, and an SD card, you can establish a personal VPN that competes with services charging $5 to $10 monthly. This venture enables you to conceal your online activities from unwanted surveillance and securely access your home network from anywhere.
Though it may not match the extensive server networks of commercial VPNs, a DIY VPN stands out in privacy protection. It thwarts your Internet Service Provider from monitoring your online activities and conceals your true IP address. Moreover, you’ll relish in the accomplishment of constructing and overseeing your own privacy shield. 
Are you prepared to venture into the realm of DIY VPNs? Let’s delve into how a simple Raspberry Pi can be transformed into a formidable instrument for safeguarding your online privacy and securing your home network.
Understanding VPNs and Their Benefits
VPNs act as a protective shield for your online activities. They establish a secure tunnel between your device and VPN servers, concealing your true IP address. This technology significantly enhances online privacy and network security, crucial in today’s digital world.
What is a VPN?
A Virtual Private Network (VPN) encrypts your internet connection. It hides your IP address, making it challenging for others to trace your online activities. This encryption is essential for safeguarding sensitive data during its transmission.
Advantages of using a VPN
VPNs provide numerous benefits:
- Enhanced online privacy
- Improved network security
- Protection against data theft
- Access to geo-restricted content
Research indicates that nearly 50% of users are oblivious to how their data is tracked online. VPNs counter this by adding a protective layer to your internet use.
Why create your own VPN?
Building a personal VPN with a Raspberry Pi grants you full control over your data. It’s an economical choice for small networks, offering benefits akin to commercial VPNs. You can evade ISP tracking and conceal your IP address without depending on third-party services.
An open-source VPN like PiVPN on a Raspberry Pi is straightforward to set up and oversee. It strikes a balance between security and cost, appealing to individuals and small businesses.
Required Hardware and Software
Setting up a VPN on a Raspberry Pi necessitates certain hardware and software. This section details the crucial components for a Raspberry Pi VPN setup with OpenVPN or WireGuard.
Raspberry Pi and accessories
To establish your VPN server, you’ll require:
- Raspberry Pi (model 2B, 3B, or 3B+)
- Power supply
- Micro-SD card (8GB or larger)
- Ethernet cable
Optional items include a case for protection and a USB keyboard and mouse for initial setup.
Operating system and VPN software
The Raspbian operating system is perfect for this endeavor. For VPN software, you have two primary choices:
- OpenVPN: The industry standard, compatible with most devices
- WireGuard: A newer, faster alternative with simpler code
PiVPN streamlines the installation process for both OpenVPN and WireGuard on your Raspberry Pi.
Additional tools and services
To boost your VPN setup, consider these additional tools:
- DHCP reservation: Assign a static IP to your Raspberry Pi
- Dynamic DNS service: Maintain a consistent hostname for your VPN server
- No-IP: A popular free DDNS provider (requires verification every 30 days)
Ensure you update your Raspberry Pi OS before installing OpenVPN or PiVPN. This step guarantees you have the latest security patches and features for your VPN server.
Setting Up Your Raspberry Pi
Initiating a Raspberry Pi setup for your VPN project begins with a clean Raspbian installation. This crucial step lays the groundwork for your network setup and Raspberry Pi configuration. Start by downloading the latest Raspbian image and flashing it onto your SD card.
After booting up your Pi, connect it to your home network. For a reliable connection, consider assigning a static IP address. This ensures your Pi retains a consistent internal address, essential for VPN functionality.
Executing these commands updates your Raspberry Pi with the latest software versions. Security is of utmost importance, so alter the default password for the ‘pi’ user. Utilize the passwd command within the terminal to establish a robust, unique password.
With these foundational steps in place, your Raspberry Pi is now ready for VPN server installation. The Raspberry Pi 4 model, equipped with 8GB RAM, is particularly suited for this purpose. It provides superior performance for data encryption and handling multiple connections.
Preparing Your Network Environment
Setting up your VPN demands meticulous network configuration. This process is vital for keeping your VPN server accessible and stable. We’ll explore the essential steps for preparing your network environment.
Configuring a Static IP Address
A static IP address is crucial for your Raspberry Pi VPN server. It guarantees your device has a consistent address on your network. You can configure this either on your Raspberry Pi or via your router’s DHCP reservation feature.
Setting Up Port Forwarding
Port forwarding enables external traffic to reach your VPN server. You must configure your router to forward VPN traffic (typically on port 1194 for OpenVPN) to your Raspberry Pi’s IP address. This is vital for allowing remote connections to your VPN.
Implementing Dynamic DNS (Optional)
If your internet service provider assigns you a dynamic public IP address, consider using a Dynamic DNS service. This service provides a consistent hostname for your VPN server, simplifying connections from outside your network. Notable options include No-IP and DynDNS.
- Choose a DDNS provider
- Set up a DDNS client on your Raspberry Pi
- Configure your router to update the DDNS service
By addressing these network configuration aspects with care, you’ll establish a robust foundation for your Raspberry Pi VPN server. This setup ensures your VPN remains accessible and dependable, even with changes in your network’s external IP.
Installing and Configuring OpenVPN
Setting up OpenVPN on your Raspberry Pi is a straightforward process. It offers robust security for your VPN configuration. The process includes installing the software, generating encryption keys, and configuring the server. This guide will walk you through the essential steps.
Begin by installing OpenVPN on your Raspberry Pi. Open a terminal and run:
- sudo apt-get update
- sudo apt-get install openvpn
Next, generate the necessary encryption keys for your VPN setup. OpenVPN uses 2048-bit encryption by default, providing strong security. Create a directory for your keys:
- mkdir ~/openvpn-keys
- cd ~/openvpn-keys
Now, use the easy-rsa script to generate your keys:
- wget https://github.com/OpenVPN/easy-rsa/releases/download/v3.0.8/EasyRSA-3.0.8.tgz
- tar xzf EasyRSA-3.0.8.tgz
- cd EasyRSA-3.0.8
- ./easyrsa init-pki
- ./easyrsa build-ca
- ./easyrsa build-server-full server nopass
After generating the keys, configure your OpenVPN server. Create a new configuration file:
- sudo nano /etc/openvpn/server.conf
Add the necessary settings to this file, including port, protocol, and key locations. Save and exit. Finally, start your OpenVPN server:
- sudo systemctl start openvpn@server
Your Raspberry Pi is now running as an OpenVPN server, ready for secure connections.
Using PiVPN for Easy VPN Setup
PiVPN simplifies the VPN setup on your Raspberry Pi. It offers an automated setup that’s easy to use. This makes creating a secure connection straightforward. Let’s delve into how to ensure a smooth installation.
Downloading and running the PiVPN script
To initiate the PiVPN installation, open your terminal and enter this command:
curl -L https://install.pivpn.io | bash
This command starts the VPN setup wizard, leading you through each step. The wizard automates complex tasks, minimizing errors.

Configuring PiVPN settings
During setup, you’ll make critical choices about your VPN:
- Choose between OpenVPN and WireGuard protocols
- Select communication protocols
- Set the VPN port (51820 is default for WireGuard)
- Pick a DNS provider (Quad9 is the default option)
Generating encryption keys
PiVPN automatically generates security certificates and encryption keys. This ensures your VPN connection stays secure and private. It’s vital to back up these keys to prevent data loss.
With PiVPN, setting up your own VPN is a breeze. This tool simplifies the process, making it easy for beginners.
VPN Raspberry Pi: Creating Client Profiles
Setting up client profiles is essential for your VPN setup. With your Raspberry Pi VPN server prepared, it’s time to create OpenVPN profiles for each device. This ensures secure, personalized access for all your devices.
To begin, use the ‘pivpn add’ command. This command generates a unique .ovpn file for each device. These files include all the necessary configuration details and encryption keys for a secure connection.
Here’s a quick guide to create and manage your client profiles:
- Run ‘pivpn add’ in your terminal
- Choose a name for your client (e.g., phone, laptop)
- Set a strong password for the profile
- Repeat for each device you want to connect
Each device requires its own profile for optimal security. After creation, transfer these .ovpn files securely to your devices. Use encrypted file transfer methods or a secure cloud service for this step.
PiVPN supports various encryption options, including 2048-bit RSA encryption. Stronger options like 4096-bit RSA are also available but might slow down streaming activities. Choose the level that balances security and performance for your needs.
With your client configuration complete, you’re now ready to connect your devices to your personal Raspberry Pi VPN server. This setup ensures a secure, private connection whenever you’re online.
Securing Your VPN Server
After setting up your Raspberry Pi VPN, it’s essential to prioritize VPN security. A secure server provides comprehensive network protection, shielding your data from potential threats.
Changing Default Passwords
Enhancing your VPN security begins with changing default passwords. This straightforward step drastically lowers the risk of unauthorized access. Make sure to update the Pi user password and all default credentials linked to your VPN setup.
Enabling Automatic Updates
Ensure your system remains current with the latest security patches. Activate unattended-upgrades on your Raspberry Pi to automatically apply critical updates. This proactive approach secures your system against known vulnerabilities, enhancing overall network protection.
Implementing Firewall Rules
A well-configured firewall is vital for VPN security. Establish strict firewall rules to manage incoming and outgoing traffic. These rules should:
- Allow only essential ports for VPN functions
- Block unauthorized access attempts
- Restrict connection attempts to thwart brute-force attacks
Regularly review and update your security protocols. As threats change, so should your VPN security strategies. By adhering to these guidelines, you’ll establish a solid foundation for your Raspberry Pi VPN server. This ensures strong network protection and peace of mind.
Connecting to Your Raspberry Pi VPN
Accessing your Raspberry Pi VPN is straightforward with the right VPN client software. OpenVPN Connect, a popular choice, supports Windows, macOS, Linux, iOS, and Android. This versatility ensures you can establish a secure remote connection from various devices.
- Download OpenVPN Connect for your device
- Locate the .ovpn configuration file generated for your client
- Import this file into the OpenVPN app
- Initiate the connection to your home VPN server
This process creates a secure tunnel, protecting your internet traffic and granting access to your home network resources from anywhere. It’s worth noting that while OpenVPN is widely supported, WireGuard is gaining popularity for its speed and modern architecture.
For optimal performance, consider using a Raspberry Pi 3 or 4. These models offer enhanced processing capabilities, crucial for handling VPN encryption tasks efficiently. Remember, your choice of VPN protocol impacts both security and speed. OpenVPN and WireGuard both support robust AES 256-bit encryption, ensuring your data remains private.
Troubleshooting Common VPN Issues

Setting up a VPN can be quite challenging. Many users encounter VPN connection problems during their setup. For example, one user tried to set up a VPN using OpenVPN and a Raspberry Pi multiple times without success. They almost gave up but decided to try again after a few days.
Common OpenVPN issues include:
- Incorrect port forwarding
- Misconfigured IP addresses
- Incompatible encryption settings
A user forwarded port 1194 from their BT Home Hub to the Raspberry Pi (IP: 192.168.1.85). However, the connection issues did not resolve. Through network troubleshooting, it was found that the OpenVPN version (2.2.1) and encryption cipher (AES-128-CBC) might be causing the problem.
To resolve these issues:
- Verify your router’s port forwarding settings
- Double-check your VPN server and client configurations
- Update OpenVPN to the latest version
- Adjust encryption settings if necessary
Successful VPN setups require matching parameters on both the client and server sides. If issues continue, consider using WireGuard or seek advice from online VPN communities.
Optimizing VPN Performance
Boosting your VPN speed is essential for a seamless experience. Let’s delve into some effective VPN speed optimization techniques for your Raspberry Pi setup.
Adjusting Server Settings
Refining your server settings can greatly enhance performance. Switching from UDP to TCP has resulted in a 2.5-3x increase in VPN throughput, reaching speeds of 75-90 Mbps. It’s worth experimenting with different protocols; WireGuard has shown notable results on Raspberry Pi, offering speeds up to 50% faster than OpenVPN.
Choosing the Right Encryption Level
Encryption settings are crucial for VPN performance. Selecting lightweight algorithms like AES can increase speed by up to 60% compared to heavier options. The Pi 4 can manage 72 MB/575 Mbit AES encryption efficiently, so ensure your settings match your hardware capabilities.
Managing Bandwidth Allocation
Effective bandwidth management is crucial for optimal VPN performance. Consider these strategies:
- Use Ethernet connections instead of Wi-Fi for 30% lower latency
- Choose geographically closer VPN servers for 25% faster speeds
- Upgrade to newer Raspberry Pi models for up to 70% better VPN performance
Regular software updates and exploring different VPN protocols can further boost your VPN’s speed and reliability. With these optimizations, you’ll experience a faster, more efficient VPN on your Raspberry Pi.
Maintaining Your VPN Server
Ensuring your VPN server remains in peak condition is essential for both performance and security. Regular maintenance keeps your system current and shields it from threats. Let’s delve into the critical elements of maintaining your Raspberry Pi VPN server.
System updates are crucial for VPN upkeep. The Raspberry Pi OS features an unattended-upgrades option that automatically updates security packages. This ensures your system stays secure without needing manual effort. Ensure this feature is activated during setup.
Conducting security audits at regular intervals is vital for pinpointing vulnerabilities in your VPN server. These audits uncover potential weaknesses, enabling swift action. Utilize tools like OpenVAS or Nmap to scan for security concerns.
- Update OpenVPN software regularly
- Monitor server logs for unusual activity
- Implement automated backups of VPN configuration
- Review and adjust firewall rules as needed
VPN maintenance is a continuous endeavor. Schedule checks for updates and security audits monthly. By being proactive, your Raspberry Pi VPN server will stay secure and efficient. This ensures reliable and private internet access.
Alternatives to OpenVPN: WireGuard
WireGuard VPN has emerged as a strong contender to OpenVPN, boasting enhanced performance and a simplified setup. It was developed in 2016 and officially released in 2020. WireGuard aims to transform VPN technology with its streamlined approach and advanced encryption methods.
In VPN performance comparisons, WireGuard consistently outperforms OpenVPN. Its smaller codebase leads to faster connection speeds and lower ping times. This efficiency is especially beneficial on mobile devices, where battery life and network stability are paramount. WireGuard employs cutting-edge cryptography, including ChaCha20 and Curve25519, ensuring high security without sacrificing speed.
For those looking at alternative VPN protocols, WireGuard is a standout due to its user-friendly nature. The authentication process is streamlined, utilizing public and private keys akin to SSH. This simplifies adding new clients, a task that’s more complex with OpenVPN. WireGuard’s compatibility with major operating systems and its integration into popular router firmware like GL.iNet’s OpenWRT-based systems further boosts its appeal for both home and business users.
While OpenVPN is still widely used, WireGuard’s lead in throughput tests and its expanding presence in network hardware make it a more appealing choice. For those valuing speed, simplicity, and modern security standards in their VPN setup, WireGuard offers a compelling alternative worth considering.


